ATTENTION: As you
read this, keep in mind that I have high hopes for Frostgrave. There are great things about Frostgrave,
enough of them for me to suggest people give it a try. Yes, I am saying play this game. That
said, I must warn you: I am a contrarian
by nature and even things I really enjoy are critiqued - it just is how it is
in this brain of mine. I am fighting
that nature and, to show my good faith, I ordered myself some Reaper minis to
replace my current Hordes proxies. So, I
am invested. I am ready to give this
game a fair shot.
I have identified Frostgrave as the Monopoly of miniatures
games. What do I mean? No two families ever play Monopoly the same
way; no board game has been house-ruled so much. Now, I think a lot of house-rules for
Monopoly come from poor reading skills, boredom, alcohol, ADD, or Uncle
Darren’s need to cheat. I can see this
game getting hundreds of house rules in hundreds of different variations. Frostgrave will exist in a multitude of alternate
universes all similar but very much different.
I am calling dibs of calling our universe FG704 (Yep, the first group in
an area code should get to claim it!) Anyway,
this game screams for house rules. I
dare to say it necessitates house rules.
Why? Well, Frostgrave reminds me
of the games I made when I was in junior high.
Those were great games full of twists and endless possibilities, but
they also had unavoidable gaps that left a lot to the imagination and required
frequent on-the-spot rule creation. I
consider the comparison a compliment, a very tender compliment, while also
being aware that it may be something someone else might not necessarily want
associated with a published product.
To illustrate my meaning, let’s get into the Pros and
Cons.
Pros:
Cost of Entry - You do not need to spend much on this game
if you have played other fantasy-type games, board or miniatures. The book is inexpensive anywhere you get it
and the warbands are so generic your minis can be proxies from any fantasy
board game or miniatures. I dipped into
Hordes, Malifaux, Descent, Castle Ravenloft, Super Dungeon Explore, Shadows of
Brimstone, and Zombicide.
Easy rules - The book is 134 pages, but the game’s rules end
on page 47 and the book lay-out is very reminiscent of school text books so
those 47 pages are not a wall of tiny text nor hard to understand. You will pick up the rules in one sitting,
with a few errors made, and you will master it by the third game.
Terrain – This game is as in love with terrain as I am. Sort of like the girlfriend that laughed at
all of your jokes, I think that is why I am still on-board despite other
misgivings. Miniature games that require
lots of terrain and make the players deal with the drawbacks of said terrain
are the only ones that deserve to be called war games. That is my stance. This game gets a B when it comes to how it
integrated terrain into the essence of the game. For perspective, I give Malifaux 2e an A- for
terrain and I love Malifaux 2e, so Frostgrave did well here.
Random Encounters – I like the idea of monsters and wild
animals cropping up in these ruins and them suddenly becoming a bigger problem
than your opponent. I actually enjoy
this aspect of the game over the
Scenarios included in the book. The NPC
Bestiary is a very welcome addition to the skirmish game and Frostgrave has a
nice selection to choose from within their rulebook.
Spells – There is such a variety of spells and so many ways
to combine them. So many possibilities
and it makes your Wizard seem so powerful… if the spells go off. Grrrrr. Those spells do not go off that
often. This is as good as any time to
move on to my first Con.
Cons:
D20 – Spells just don’t cast in FG704. I was able to pull off two Fog casts and a
Poison Dart. That was it between Wizard
and Apprentice in an entire game with them both casting each turn. It felt like a magic show on a street
corner. d8’s or d10’s would be leaps and bounds
better. I thought I disliked d6’s, but
d20’s in a skirmish game are nonsense.
None of the dice gods have ever liked me, but I must have slept with
d20’s daughter and never called her back because my d20 rolls fail beyond what probability
would dictate, catastrophically fail. 2d10
might have been a better choice. Possible House Rule!
Optional Rules - Really? This basic of a game and the designer thought
it might be too overwhelming to include Critical Hits and Wounded in the main
rules? They should have just been part
of the rules.
Generic – No races, no classes, no skills, no diversity
of equipment. Cyril is a Thief. Cyril is the same as any other Thief and will
always be just a Thief. It’s no better
for Gus the Thug. He carries a Hand
Weapon until his dying day. What is a
hand weapon? It doesn’t matter according to the rules. What if it is a whip, spear, sword, axe, flail,
mop, or rubber chicken? Does not change
anything; if a weapon fits in one hand and swung at something, it has the same stats as anything else. This is good forpicking your miniatures because you do not need to find
specific models, but it gets boring and frustrating in-game. This pairs with the next point regarding
Warbands. Possible House Rule!
Warbands – This is
where the RPG feel disappears. Your
Warband never advances, levels-up, or even changes equipment. If Reginald the Sneaky and Sylis the Daring
are both Thieves, they are same thing coming into the game and will remain the
same until they are killed off by a Bone Dart or rabid Giant Rat. You might as well not name them. Give them a number like the Monarch does in
Venture Bros.. Yes, you can give them a
magical item that matches their normal item (magic dagger can replace starting
dagger, magic mail armor for mail armor, etc.) but they can never equip
anything outside their starting equipment’s type and they can never add to it
beside a potion or jewelry. They will
never get better at using said knife.
There areno new skills or improved stats for the warband either. Who cares if Cyril made it through ten
Scenarios? He still stabs and grabs
treasure like the new guy. Why not have
promotions? A very large opportunity
missed here. Possible
House Rule!
After Party – Rolling
for treasure is awesome. What seems
anti-climatic is after getting your gold and magic rings and scrolls and all
that stuff, you just declare something bought or sold and it magically happens
without rhyme or reason. You do some
bookkeeping: erase an item off your page and add a number to your gold
value. Or, you subtract some gold from
your stash and now you magically have a kennel attached to your hideout (which
appeared out of the mist), or you just happen to hire some drifter who just
happens to be this awesome Marksman which is so awesome because your last one
died ten minutes ago. There was an
opportunity to have a post-fight RPG element (thinking something along the
lines of Shadows of Brimstone) that would have created some fun moments. RPG elements would also create a balancing cost
for advancement or making rash decisions.
Why not make it the cost of your Apprentice riding back to town to
collect new heroes, sell/buy items, oversee
renovations? The Apprentice is absent
from X amount of games while looking for said supplies or overseeing the job? It is cost with a benefit at the completition. Possible
House Rule!
Turns – A game can go on-and-on-and-on. This is a frozen ruin; could they not have
something about inclement weather or attracting ghosts if the warbands stay too
long? 5-7 turns would have been fine for
game length. Malifaux has a nice
mechanic of 5 turns with a test at the end of 5th to see if there is
a 6th turn. That might even
be nice for press-your-luck moments. Possible
House Rule!
Collecting treasure – If you are the only remaining one on
the board you auto-collect. So, really,
you just need to murder the other team and then you win. This does not seem like the fluff for
Frostgrave where you are explorers and you stumble across another band and
things get bad. Also, if the game ends
and treasure is lying on the ground, why would it magically transport itself to
town for you? It makes no sense; at
least, make a spell the Wizard has to add their spell list and successfully
cast to do this. To coincide with the
Turn rule, why not make it mandatory to exit the board with the treasure to get
the treasure? Also, if you finish the game holding a treasure but were not able
to exit, have the fluff where the chasing ghost or oncoming storm made the
warband question the need to hold onto a cumbersome treasure at the potential
cost of dying, so you wouldroll for treasure as usual but pocket the gold value of the treasure
only since Cyril chose life over that +1 two-handed weapon that he can’t use
anyway. Possible House Rule!
I am sure I could find more Pros and Cons, but this is the
general idea. The game has such great
potential with the addition of house rules.
If you are the type of player that wants the rules fleshed out or wants
complexity, this is not going to be your game.
I think this game is great for those in a group that can democratically
vote for house rules and build a rich world using the seed that is Frostgrave. I even hope future expansions from the maker
might add races and classes (sub-classes!!!!) and even skill trees. I am getting some Reaper minis in the mail
soon and into the frozen ruins I will adventure again. I will be posting terrain pictures, warband
builds, bat reps, musings, and townhall minutes concerning new buildings
erected in town as well as new “laws” instituted in the land. Stay tuned and ideas, opinions are always welcome!


 I wanted to use up some spackle I was using for my desert terrain before it dries, so this spackle in the photos will be reddish in color because I had used a burnt sienna acrylic paint to tint it. I would recommend using two drops of black and four drops of brown paint because it makes a nice “dirty” base. The reddish color needed a lot more work than I had thought. It was not as bad as if i left it bright white, but it still required an extra few steps of inking after the spackle dried before the painting began. I carved a popsicle stick and toothpick so I could get the spackle into every single gap, no matter how small or inaccessible.
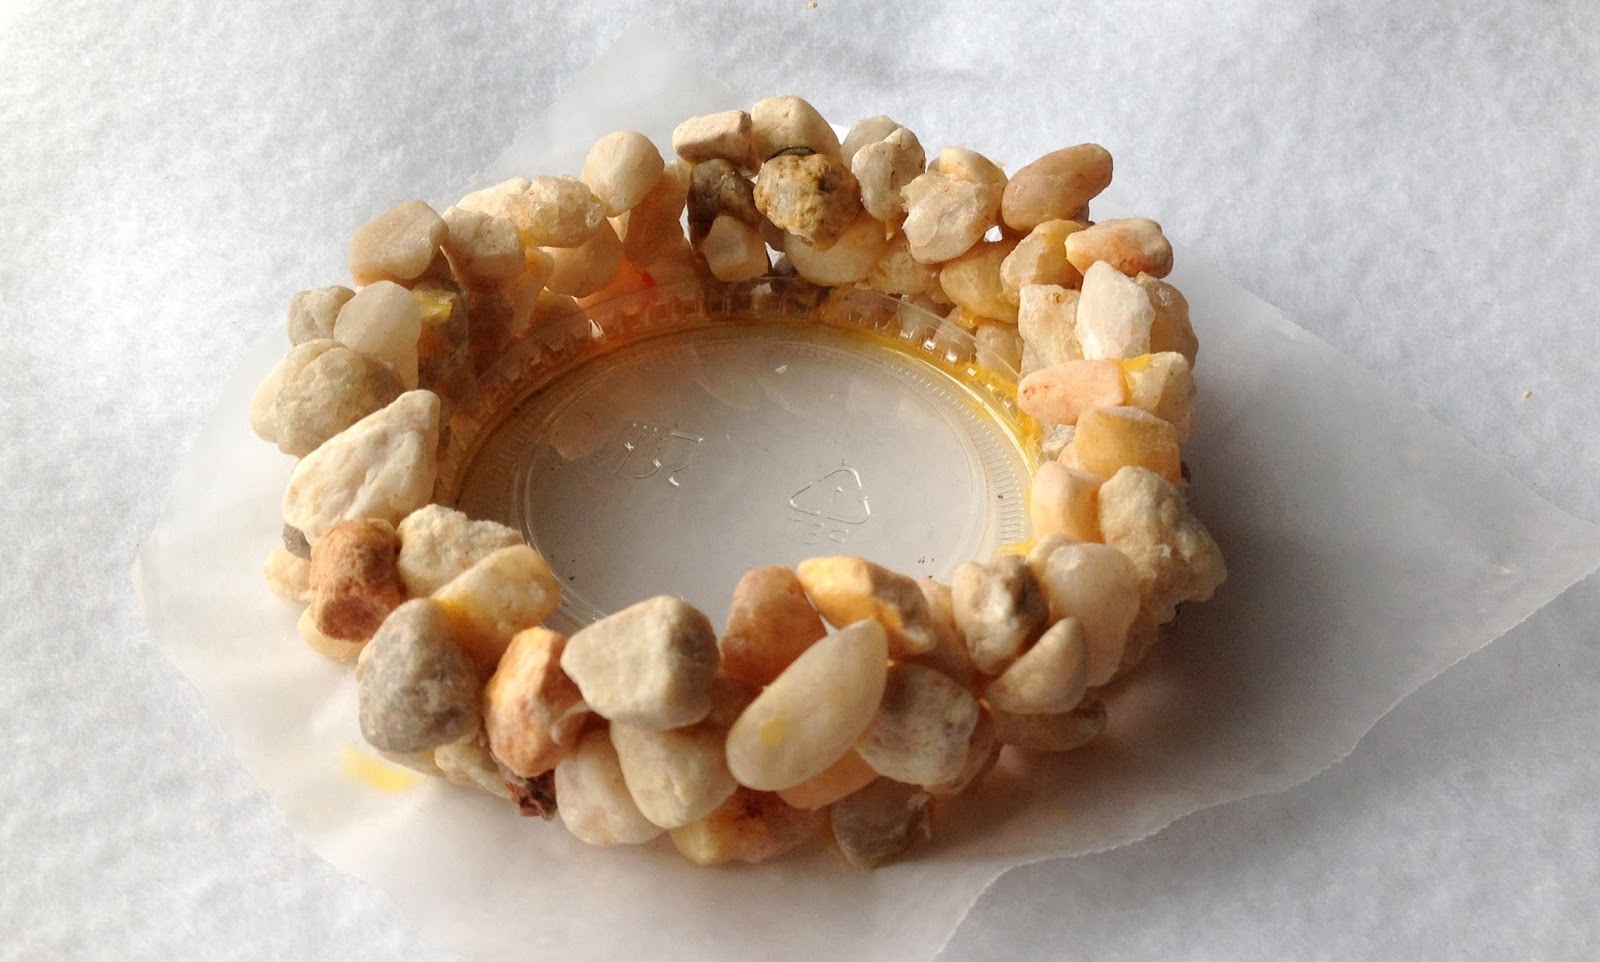
 Next step is adding the spackle. I start with the inside gaps. Any place light shines through (hold the well up to a lamp or shine a flashlight onto it) gets spackle pushed in. I use my hands, but you can use a popsicle stick, too. Either way, remember to dip your finger/tool in water periodically so the spackle releases easily. You want the spackle to fill all the holes. Below is a snapshot of the inside filled. You do not need to worry too much if it cover your stones. The next step is when you determine how much of the stone ends up exposed. The amount of coverage depends upon the look you want to achieve.
  Now, get a sponge or some foam. I use the foam that I pulled out of my miniatures carriers. You can also use the foam that is packed in most miniatures when they ship. Grab a cup of water. Wear some clothes you don’t mind getting splashed (just in case) and put down some plastic or paper. With the wet sponge, wipe across the spackle-covered stones with medium pressure. This will smooth the spackle, push it into the lower crevices, and remove it from the upper part of the stone, leaving it exposed. Again, you will wash as much or as little to get your desired look. Keep the sponge wet and continuously clean it out with fresh water so you are not just smearing spackle everywhere. I used medium pressure and I did the entire inside well once, let it dry, went back to that night and wiped it again to get my final look that I liked.